
Today I want to show you a super-easy tutorial for this little beauty.
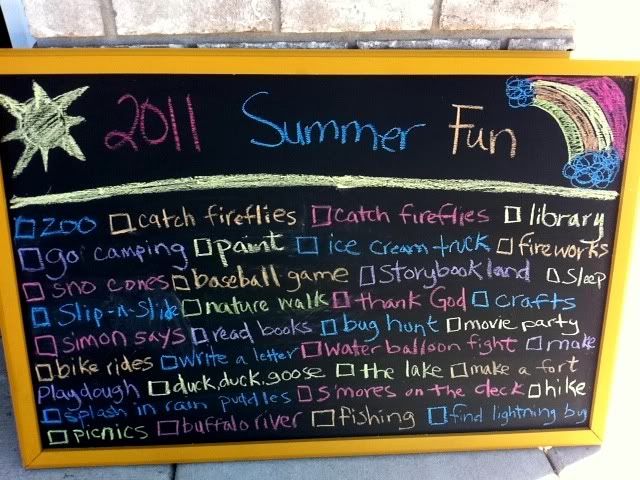
How fun and cute and totally motivating is this! I'm so excited to start checking off what we have already done and what we want to do this summer. I found this great and fun idea on one of my favorite websites, Pinterest. I cannot tell you how much I love this website. It' s a place where you can browse through pictures of ideas and pin them on separate boards. For example, you can have a recipes board, clothing board, projects board....and on and on. There is power in seeing something visually. I believe this is how I have turned the "oh if i only had time" projects or ideas into a reality. LOVE IT!!!!
Ok, so onto the tutorial. It's really really really really easy. Trust me! If I say it's easy, that means E.A.S.Y.!!!!
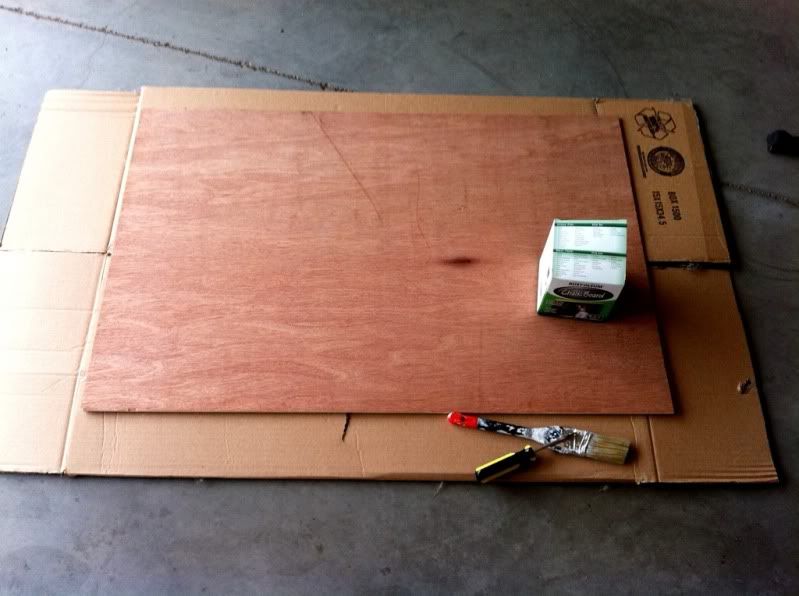
Ok, so here is what you need: a piece of plywood from your local Home Depot type store, chalk board paint, trim board usually found in the way back of the store (they will need to cut it for you), paint to color your trim, and finally a box of chalk.
For my playwood board. These are really cheap and you can pretty much pick out any size and thickness. I picked a 4x4 square board and then had the guy just cut it into a 3x4 so it was more like a picture frame. I also picked a rather thin one so i could hang it easily with 3M wall sticky hanging stuff. Here's my plywood board. Pretty basic. It was about $5.
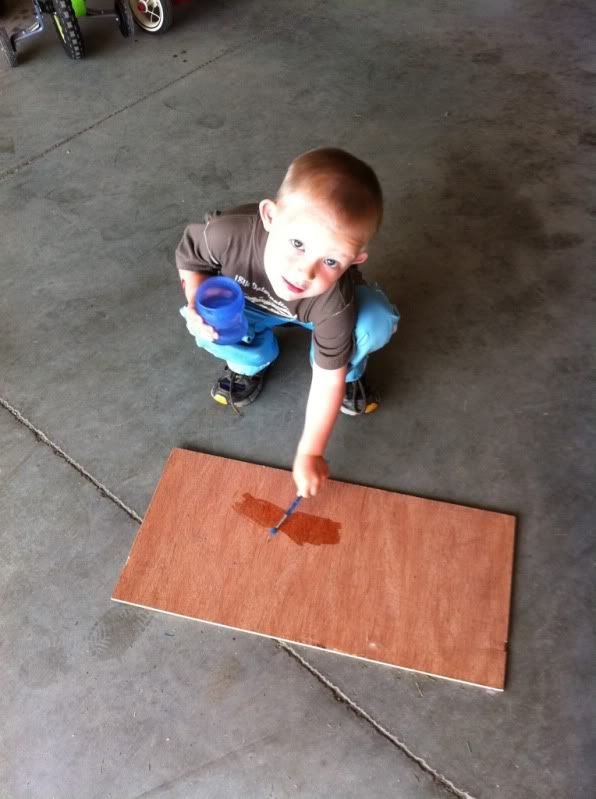
Remember to save the extra piece and let your little one work with you. Leighton got to paint his board using a little paint brush and water. I try to avoid the combination of little boys + paint. Just ask my mom what happened about 20 years ago when she had a can of smurf blue paint in sitting in her clothes closet. Let's just say little Justin and Jason gave mom's entire closet and the clothes hanging in it a "makeover". Smurf style.Knowing that, I think we will just stick with water as a nice paint substitute for now.
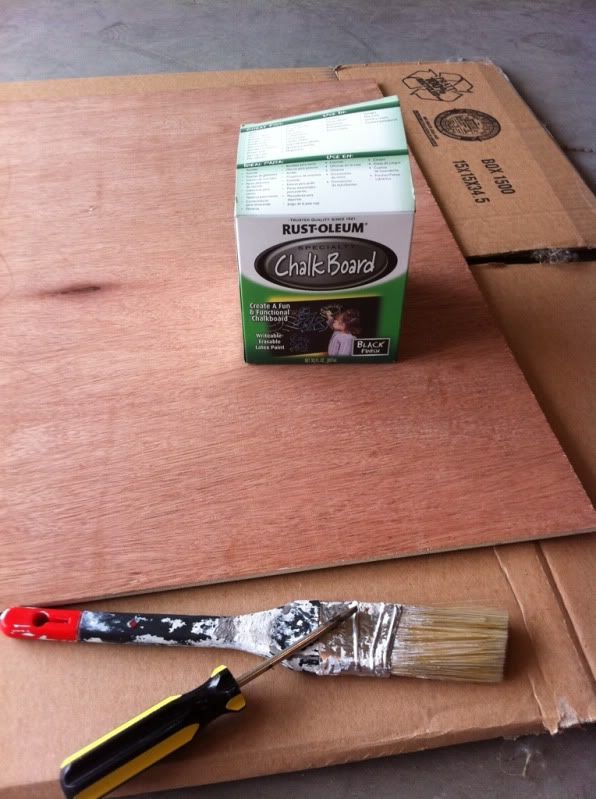
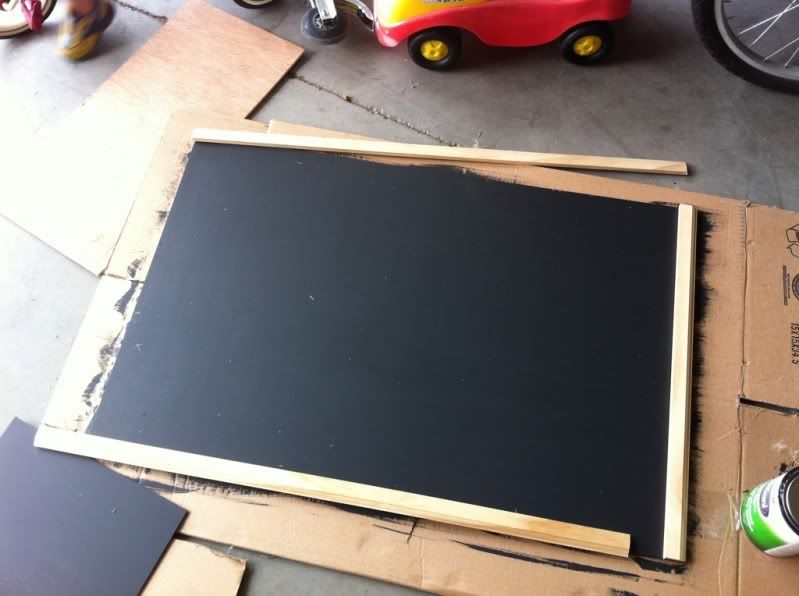
So your board is ready. Now grab the chalkboard paint that you also picked up at your local Home Depot type store. I chose black but you can have them tint it another color like green. Now paint it. That's my favorite part. I love painting. Really, I do.
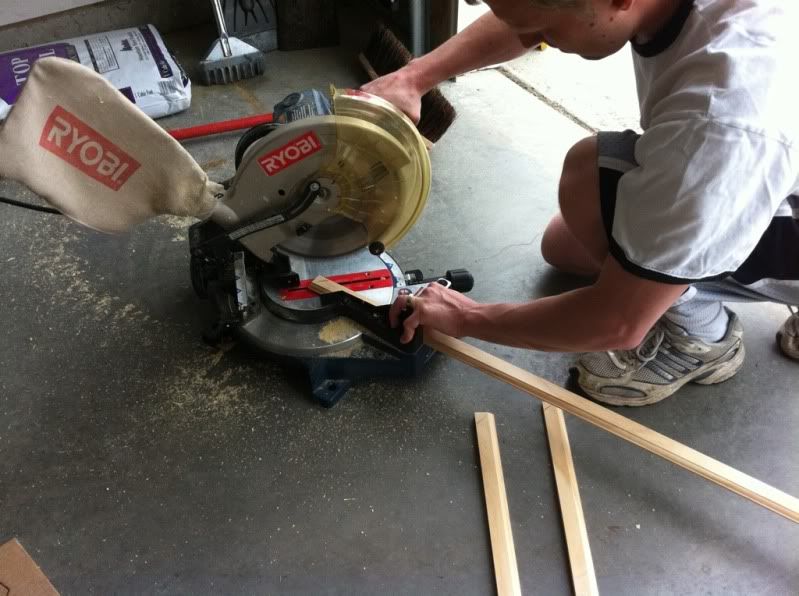
Then you take your trim board which you requested they cut in four pieces the size of the sides of your board. Then you will need a strong and dappled man to help you with the next part.
You will need this strong and dappled man to navigate a mitr saw for you. Unless you already know how to use a mitr saw. I didn't. And I had no intention of learning. So, that's where my strong and dappled husband came in. He cut angles into my trim board so it would fit together on my board. Thanks honey! {And thanks to our neighbors, Steve and Tonya for borrowing us your saw!}
Then I gorrilla glued them onto my board. I set a heavy board on it over night to make sure the trim and glue set up.

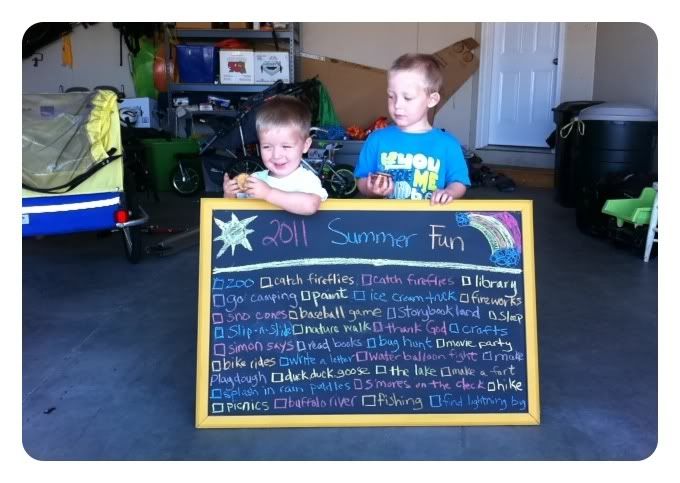
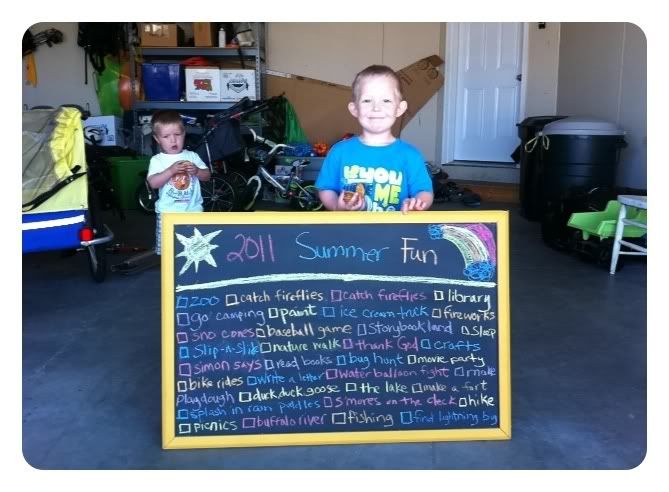
Then we added our activities with brightly colored chalk and we are good to go!
And here are my handsome helpers.
Now get out there and make yourself this super easy summer activity chalk board!
Ok, just one more quick idea. So, because I wanted to do this fun project with the boys and also use it as a cute piece for their playroom, I decided to make a couple of accent pieces. So even if you don't want to go get all the materials for the big board you could totally do this with items you probably already have. You will only need your chalkboard paint.
This next part is done using a basic frame. I didn't take a picture of the frame before. Sorry.
Here are the steps for this even easier project.
1. Take the glass out of the frame or frames.
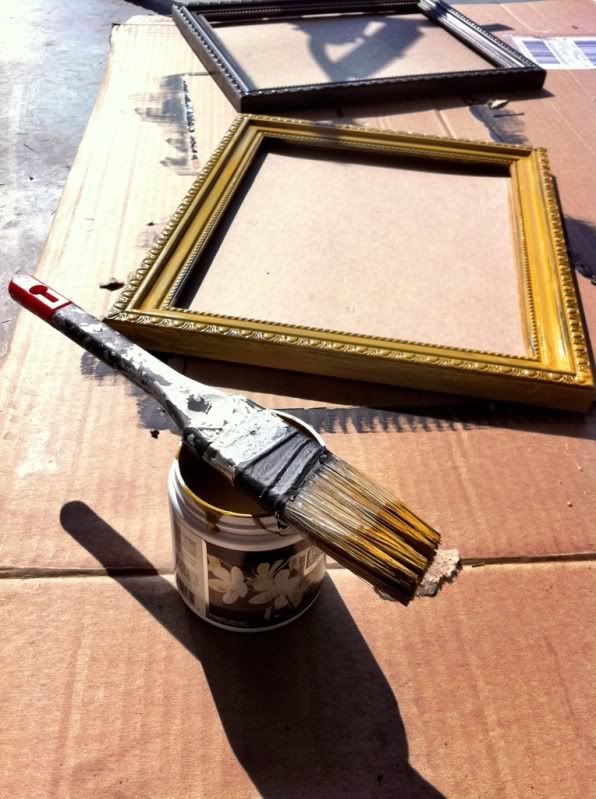
2. Paint the glass from the frames with chalkboard paint and let them dry.
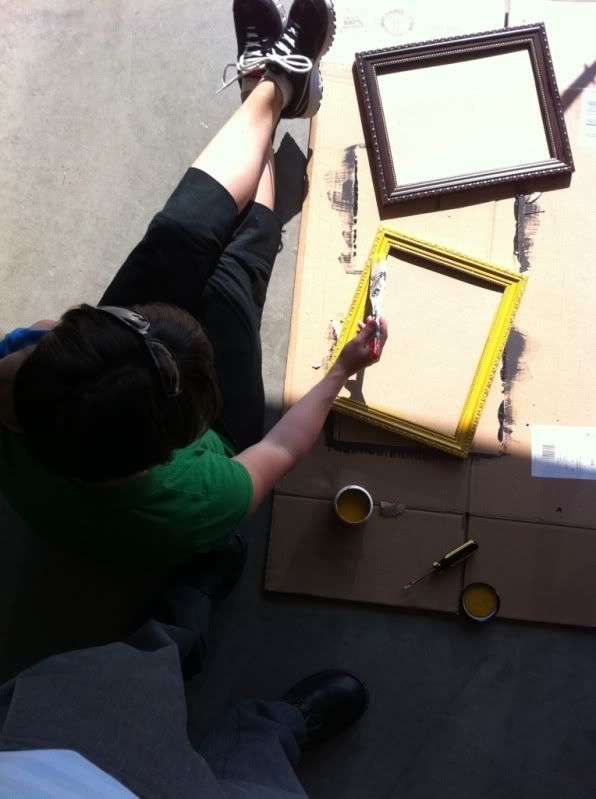
3. Paint your frames. Like this. I even did this holding baby Beckett.
Put your painted glass back in after it's all dry. Like this.

Now you can use it for whatever you want. Maybe use it as a menu board in your kitchen. Maybe use it as a board to write an inspirational quote on? Whatever you want. I used mine as accent pieces in the playroom.
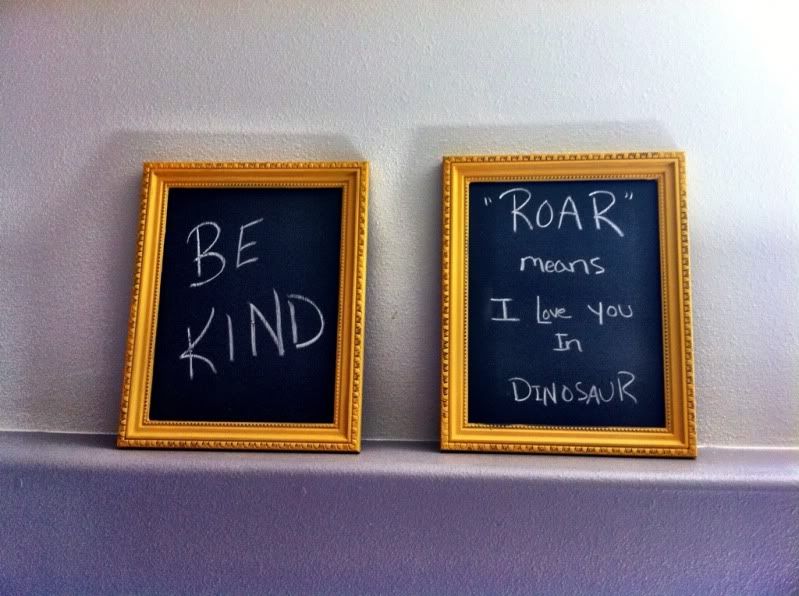
Isn't this neat?

3 comments:
Great idea! I have the chalkboard already, going to do the summer ideas now!
Those turned out so adorable!!!
I love this idea! What a fun project!
Post a Comment